Week 1: Getting started on our community garden plot
Last week, we attended our first community garden meeting and were assigned the plot we will be transforming into a flower and vegetable garden! There is a lot of overgrowth right now, trees that must be removed (more about that later), composting, but we are very ready to get the weed whacker roaring and our hands dirty!
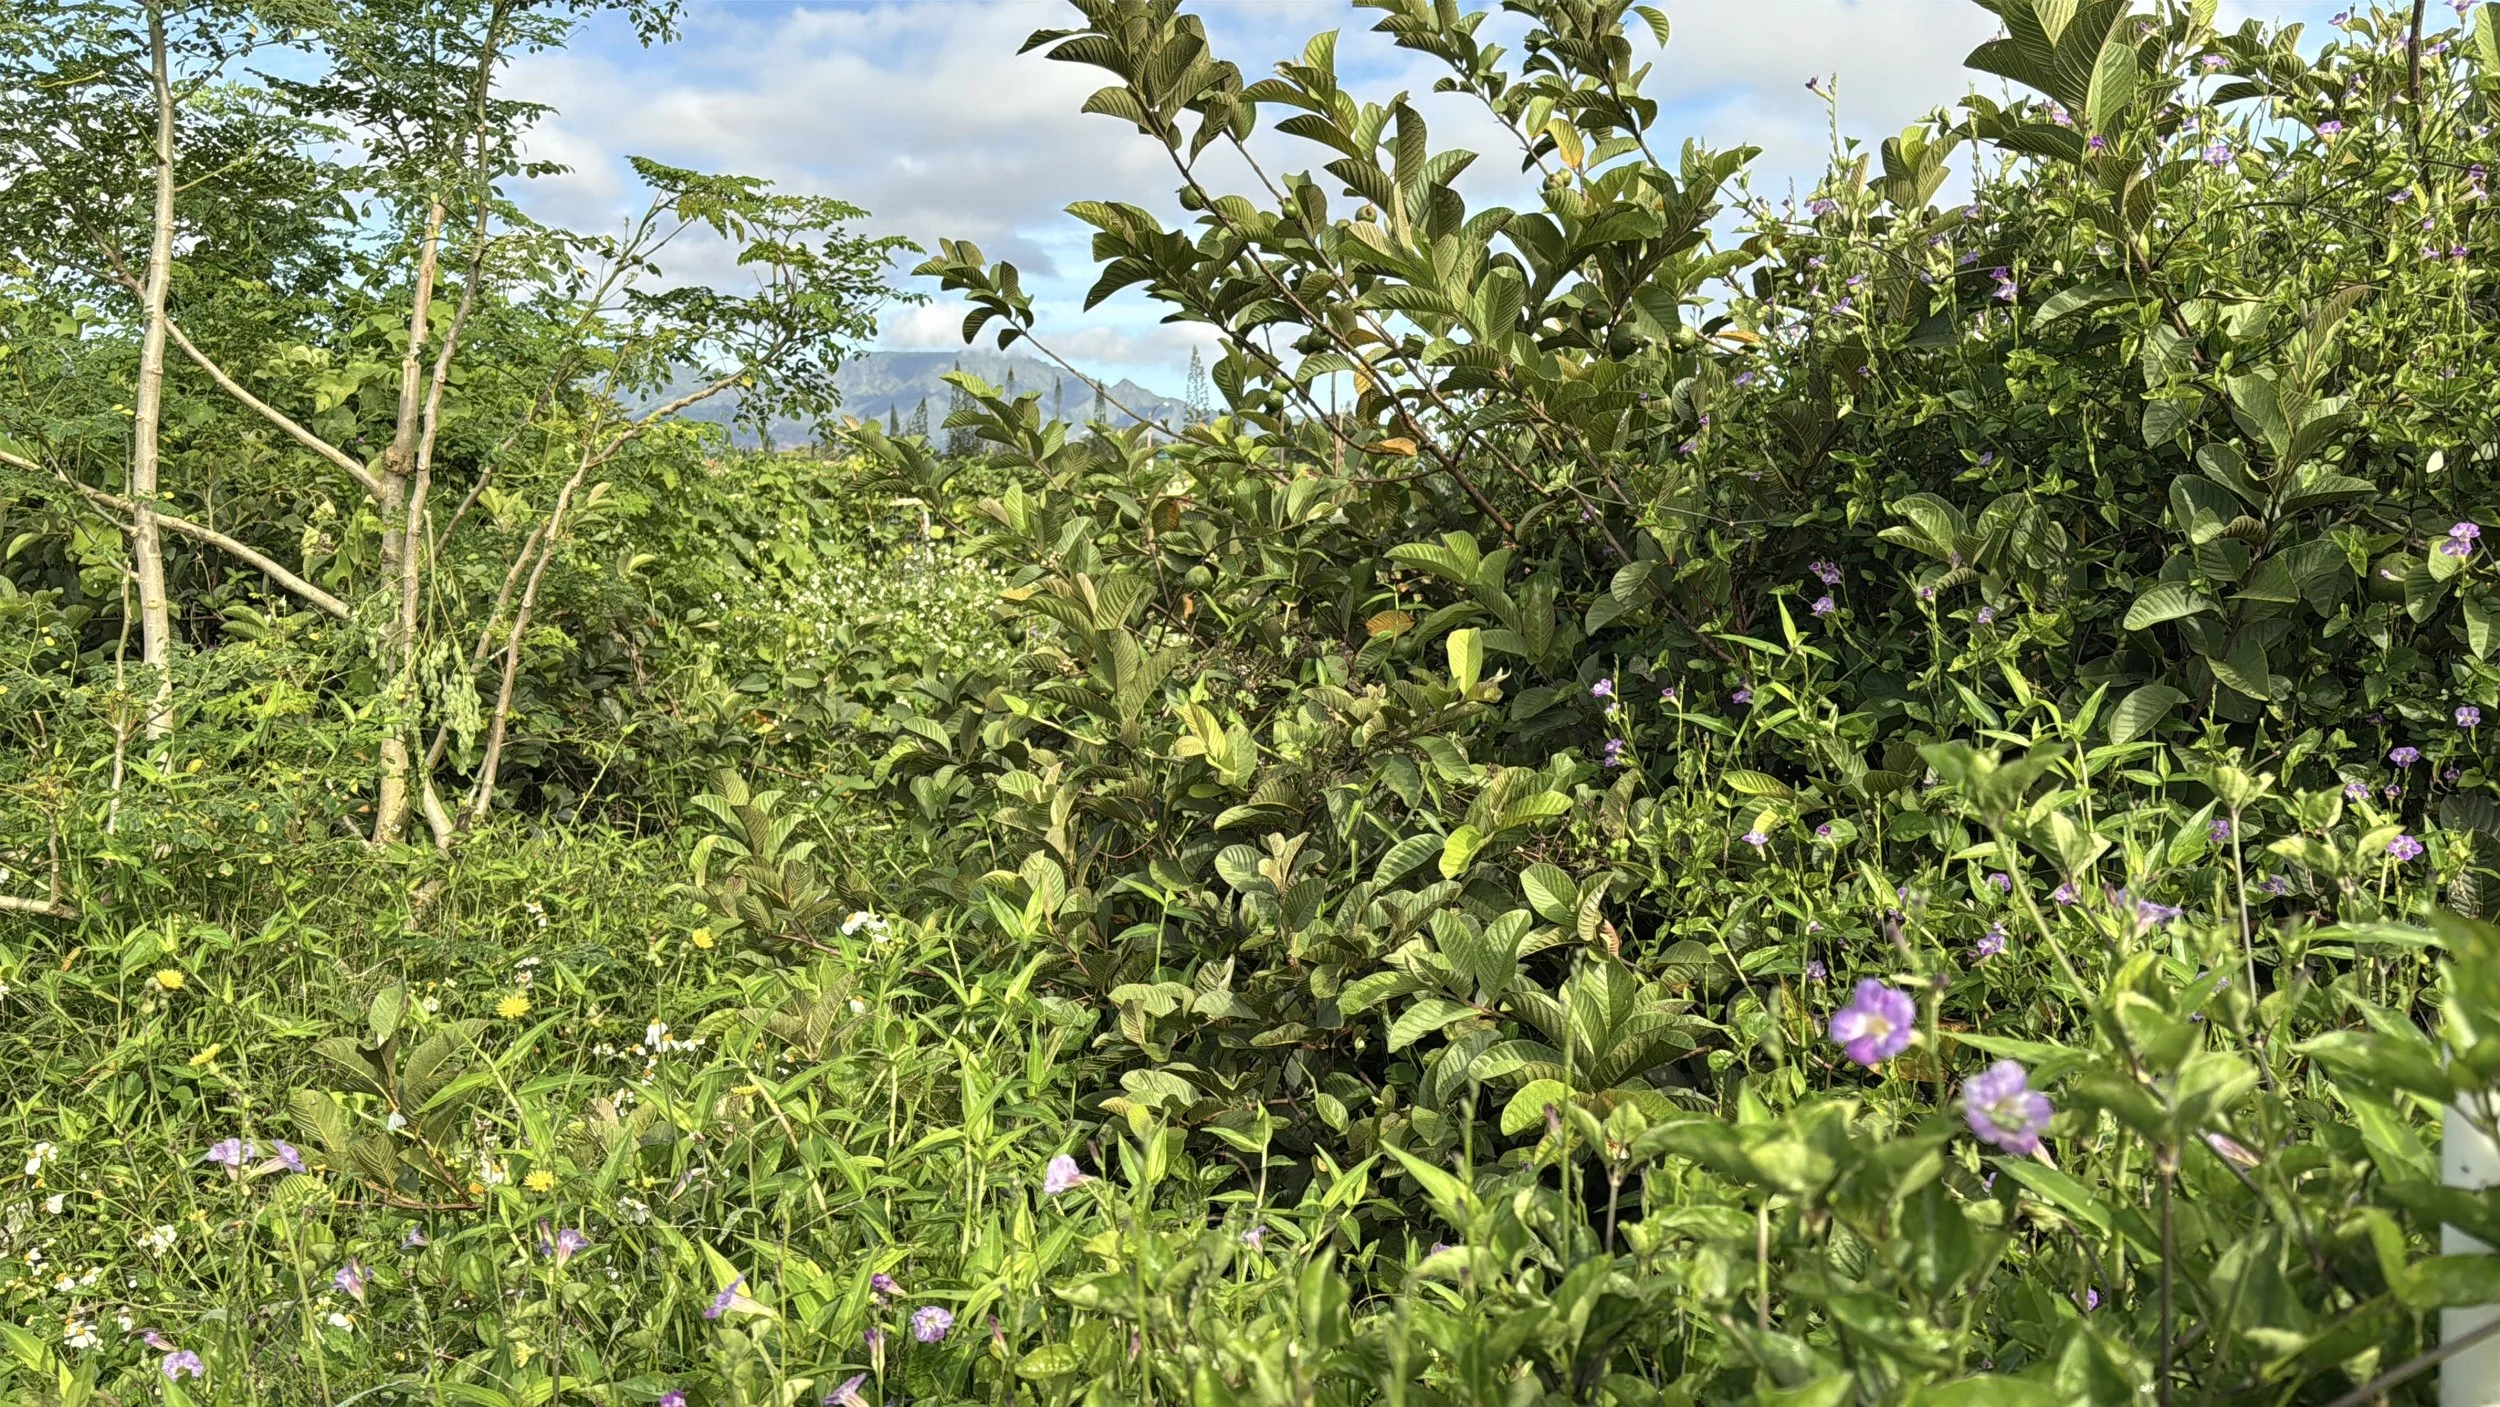
Our first glimpse of our community garden plot
The funniest part of our day was passing the garden from the freeway. In recent months, I had jokingly pointed out one particularly overgrown lot to my husband, laughing and saying that one would be ours. Lo and behold, it is. I definitely need to be more mindful of what comes out of my mouth. 😅
If you’re interested in learning more about how you can participate in a community garden on the island of Oahu, I have another blog post here where I write about the application process and include other useful information to help you get started.
Welcome to the garden!
There’s just a bit of overgrowth…
The plot we were assigned to is roughly 20x40 ft., so we have around 800 square feet to play around with (this is about the original size of my house)!
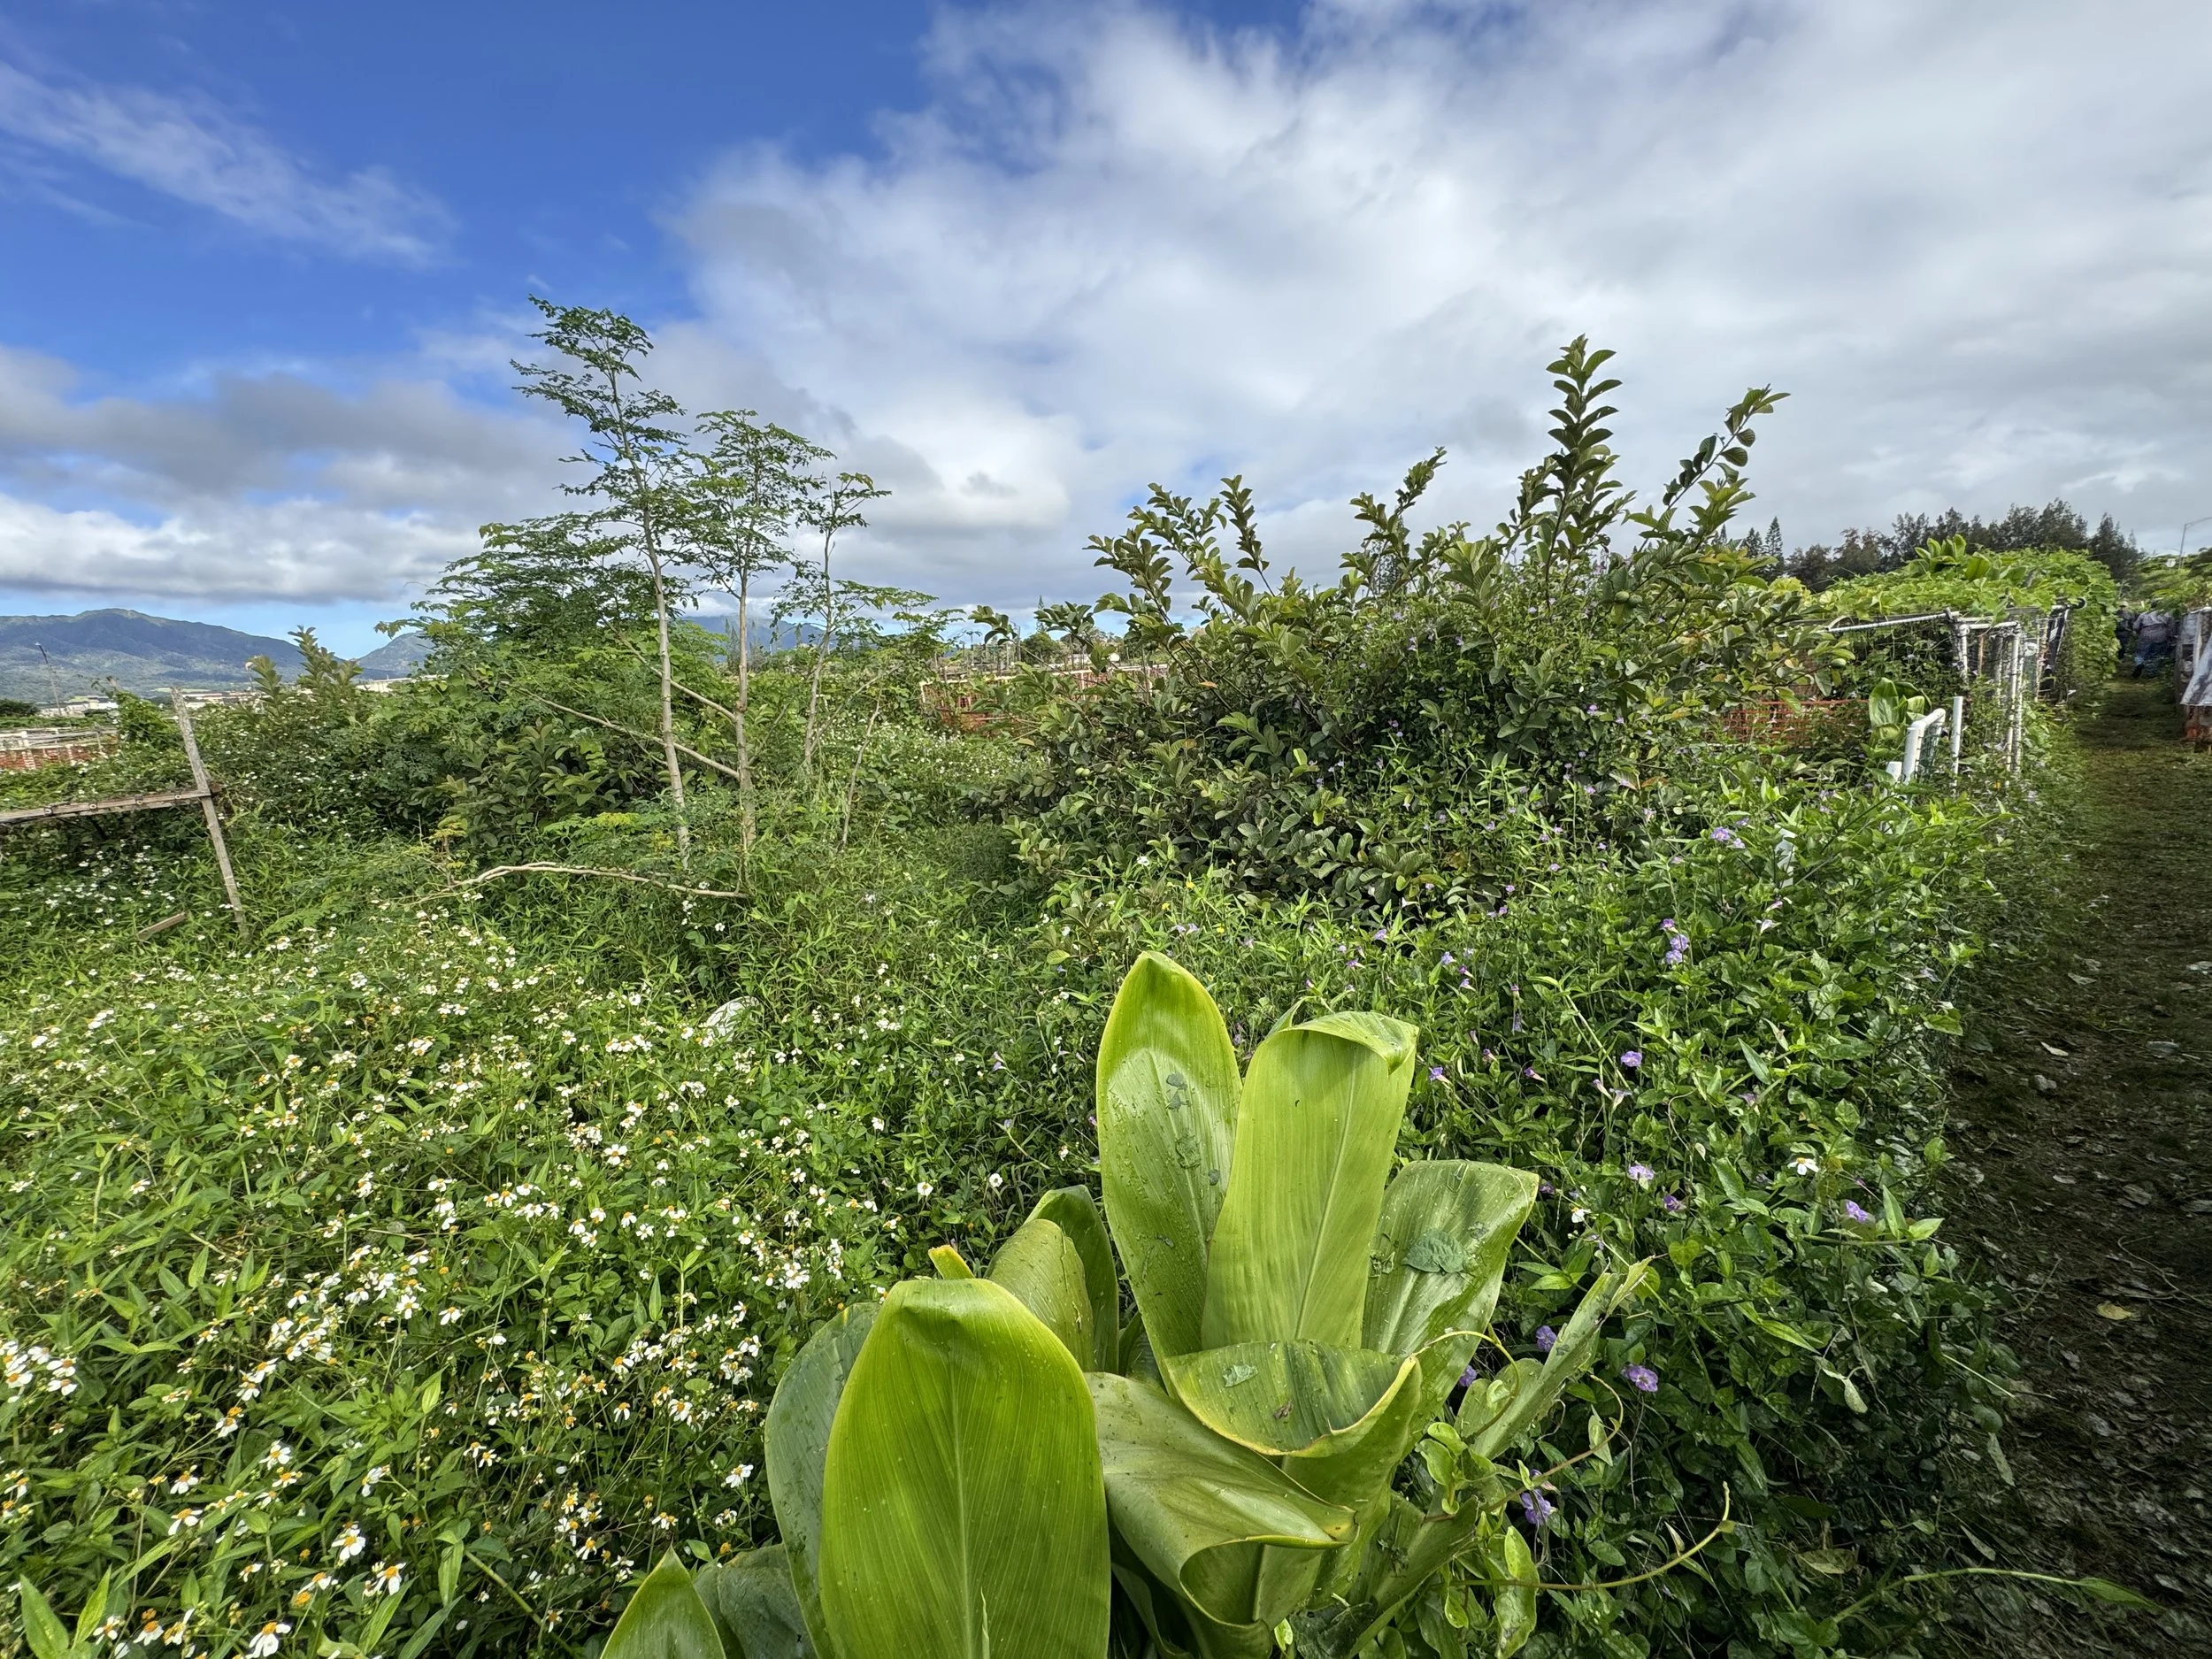
When we first walked our plot we knew there was overgrowth, but getting in there and really looking at what we had, took it to a whole new level! The first thing we did was walk around our plot and take measurements to familiarize ourselves with the plot borders.
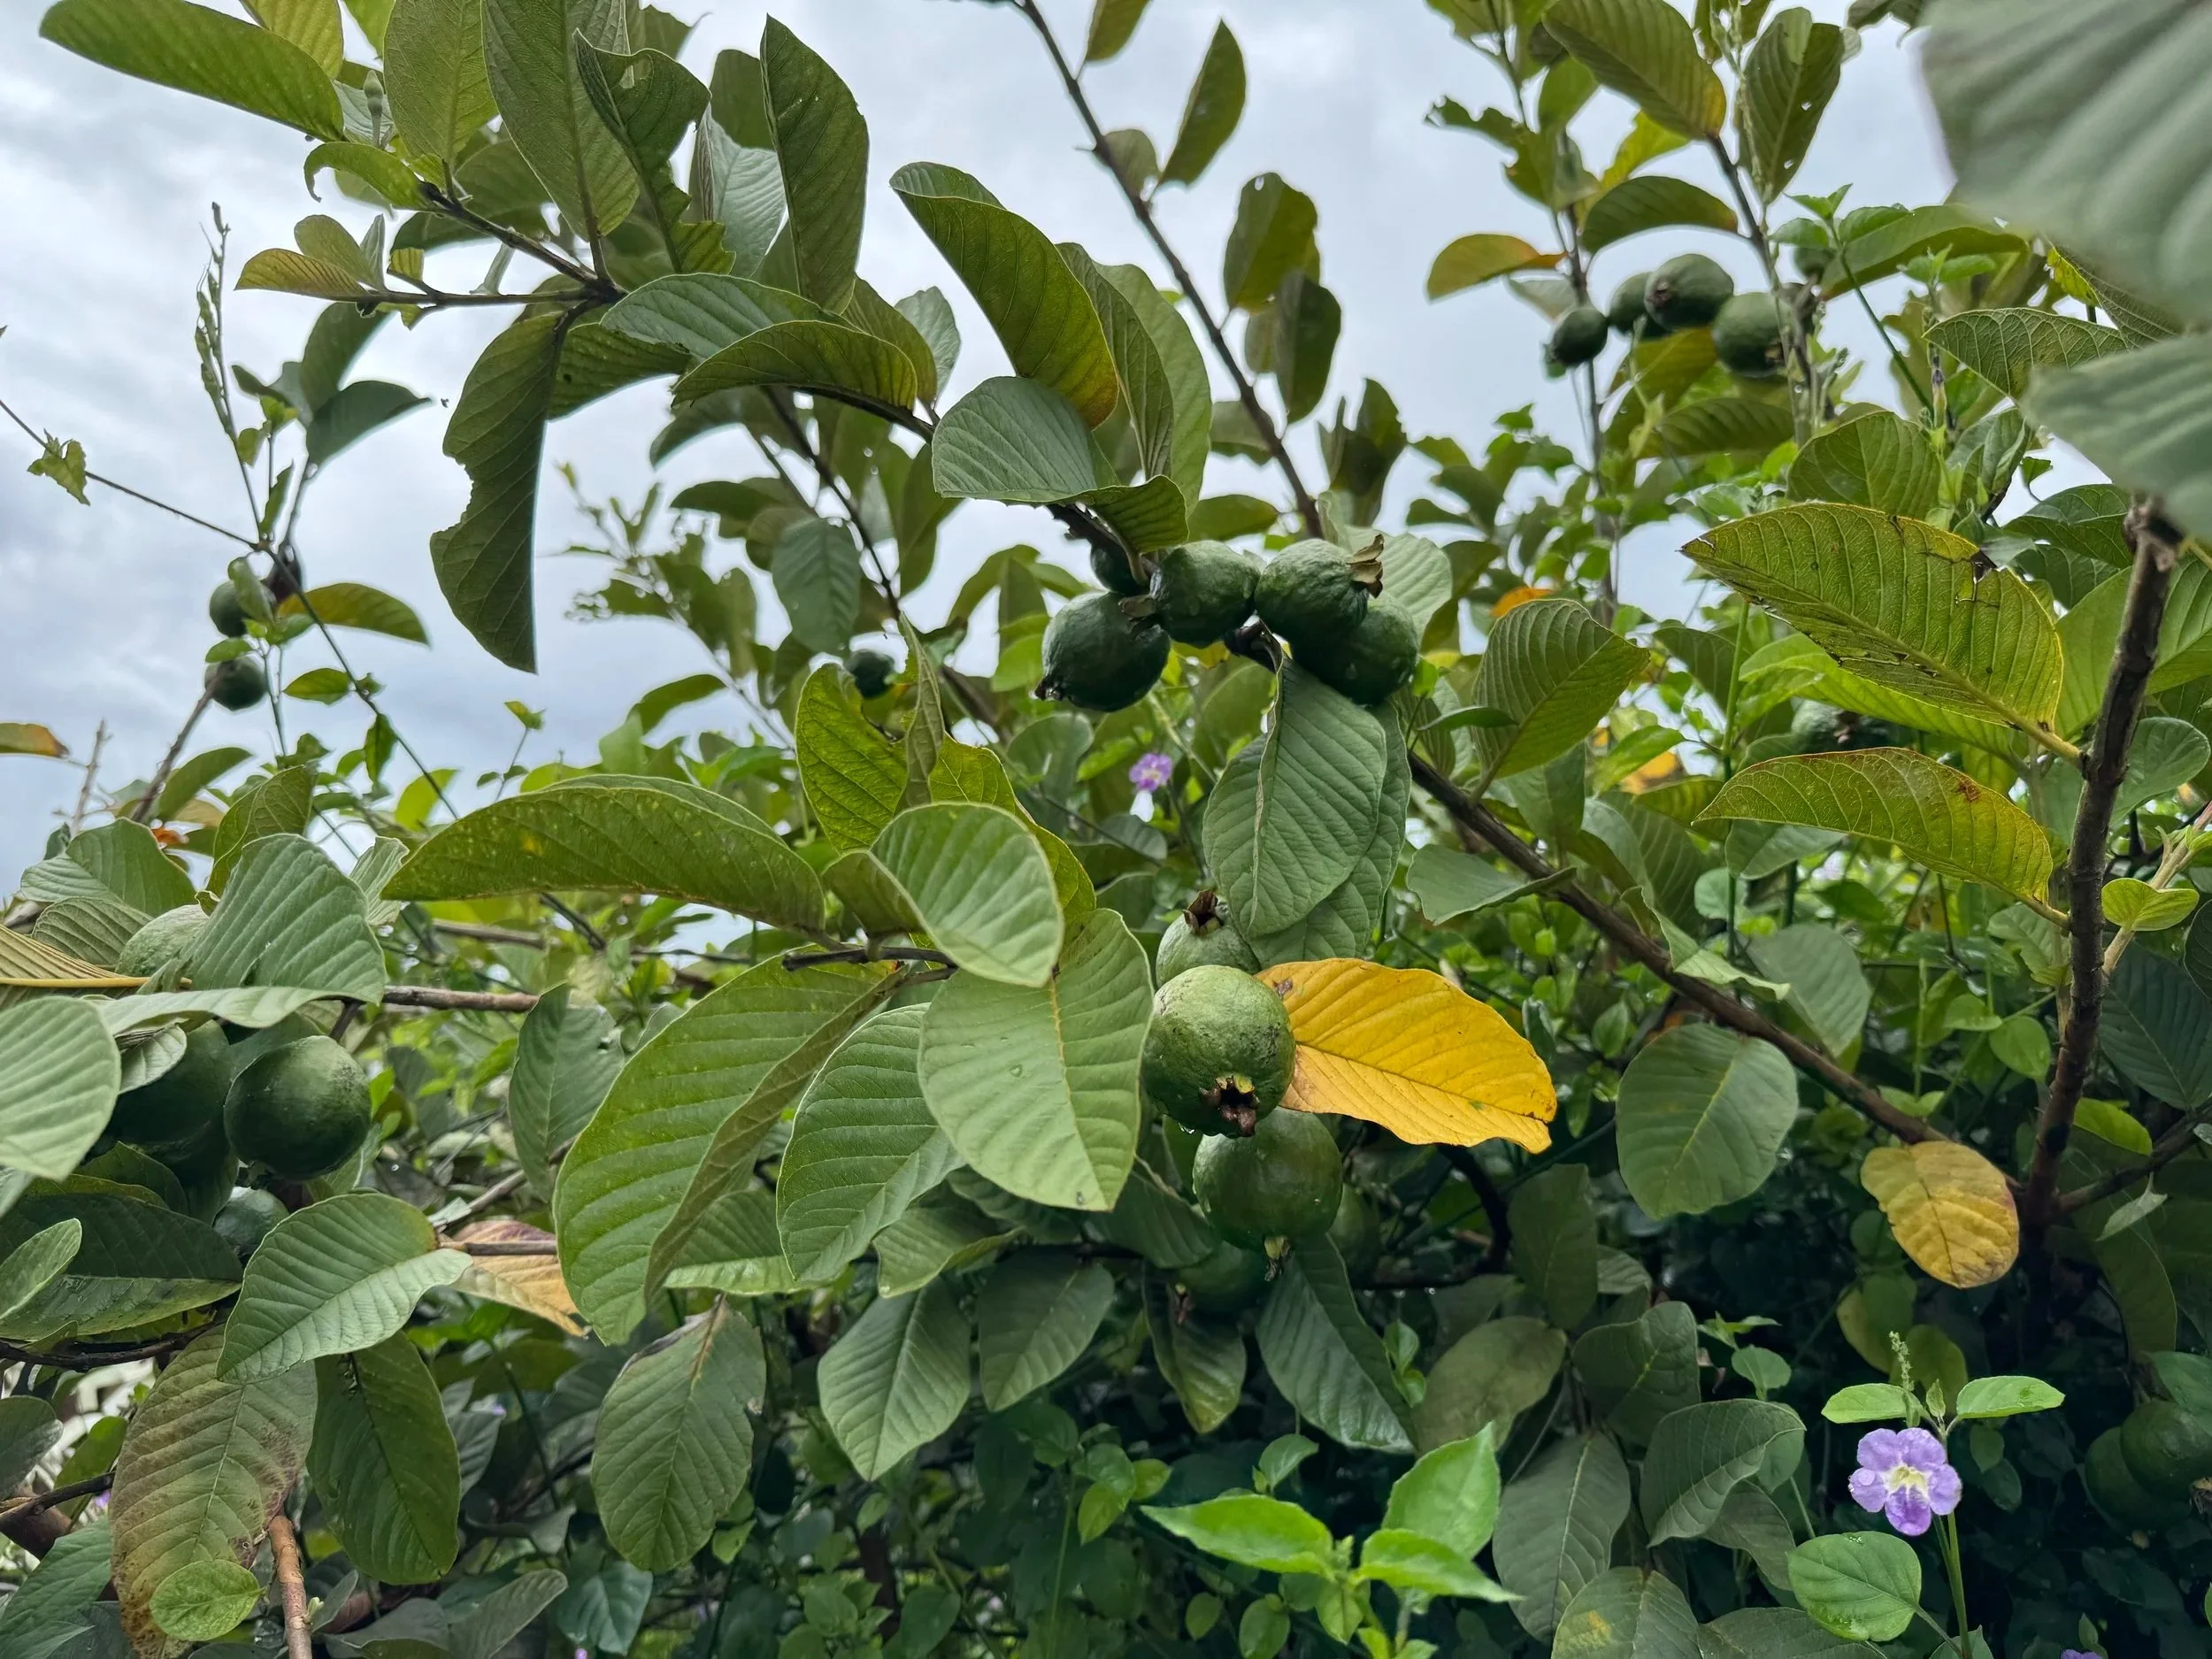
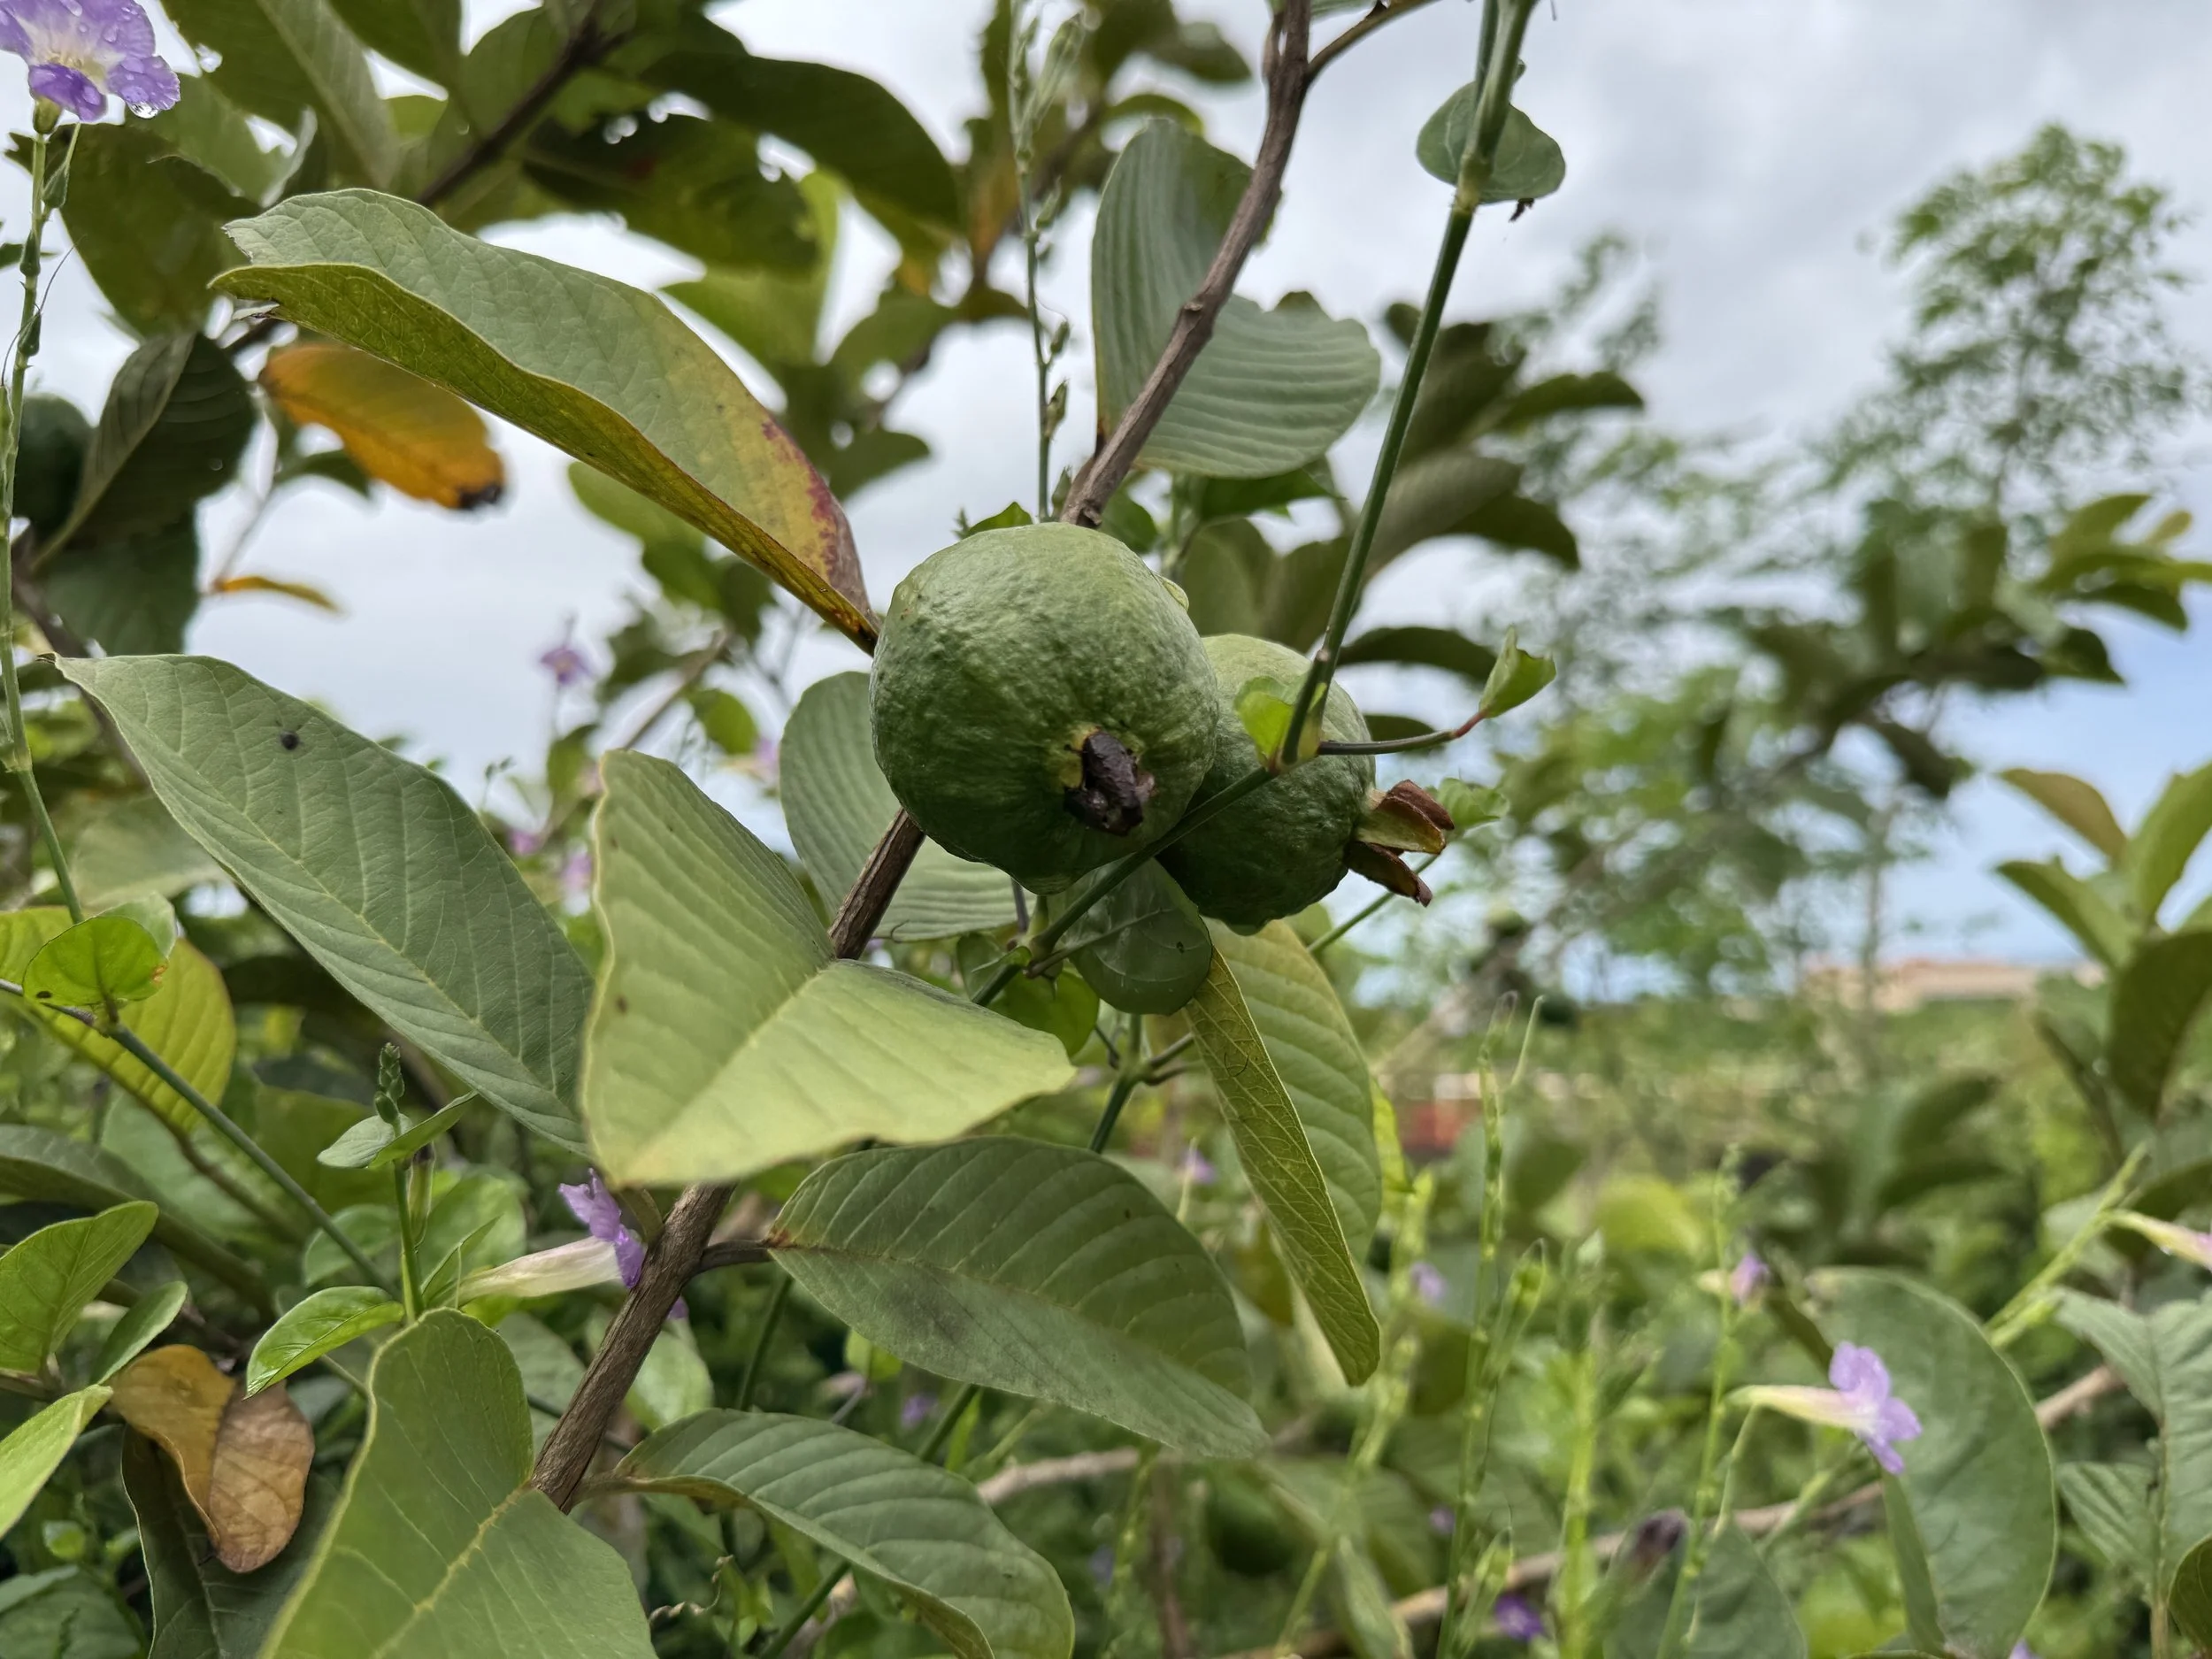
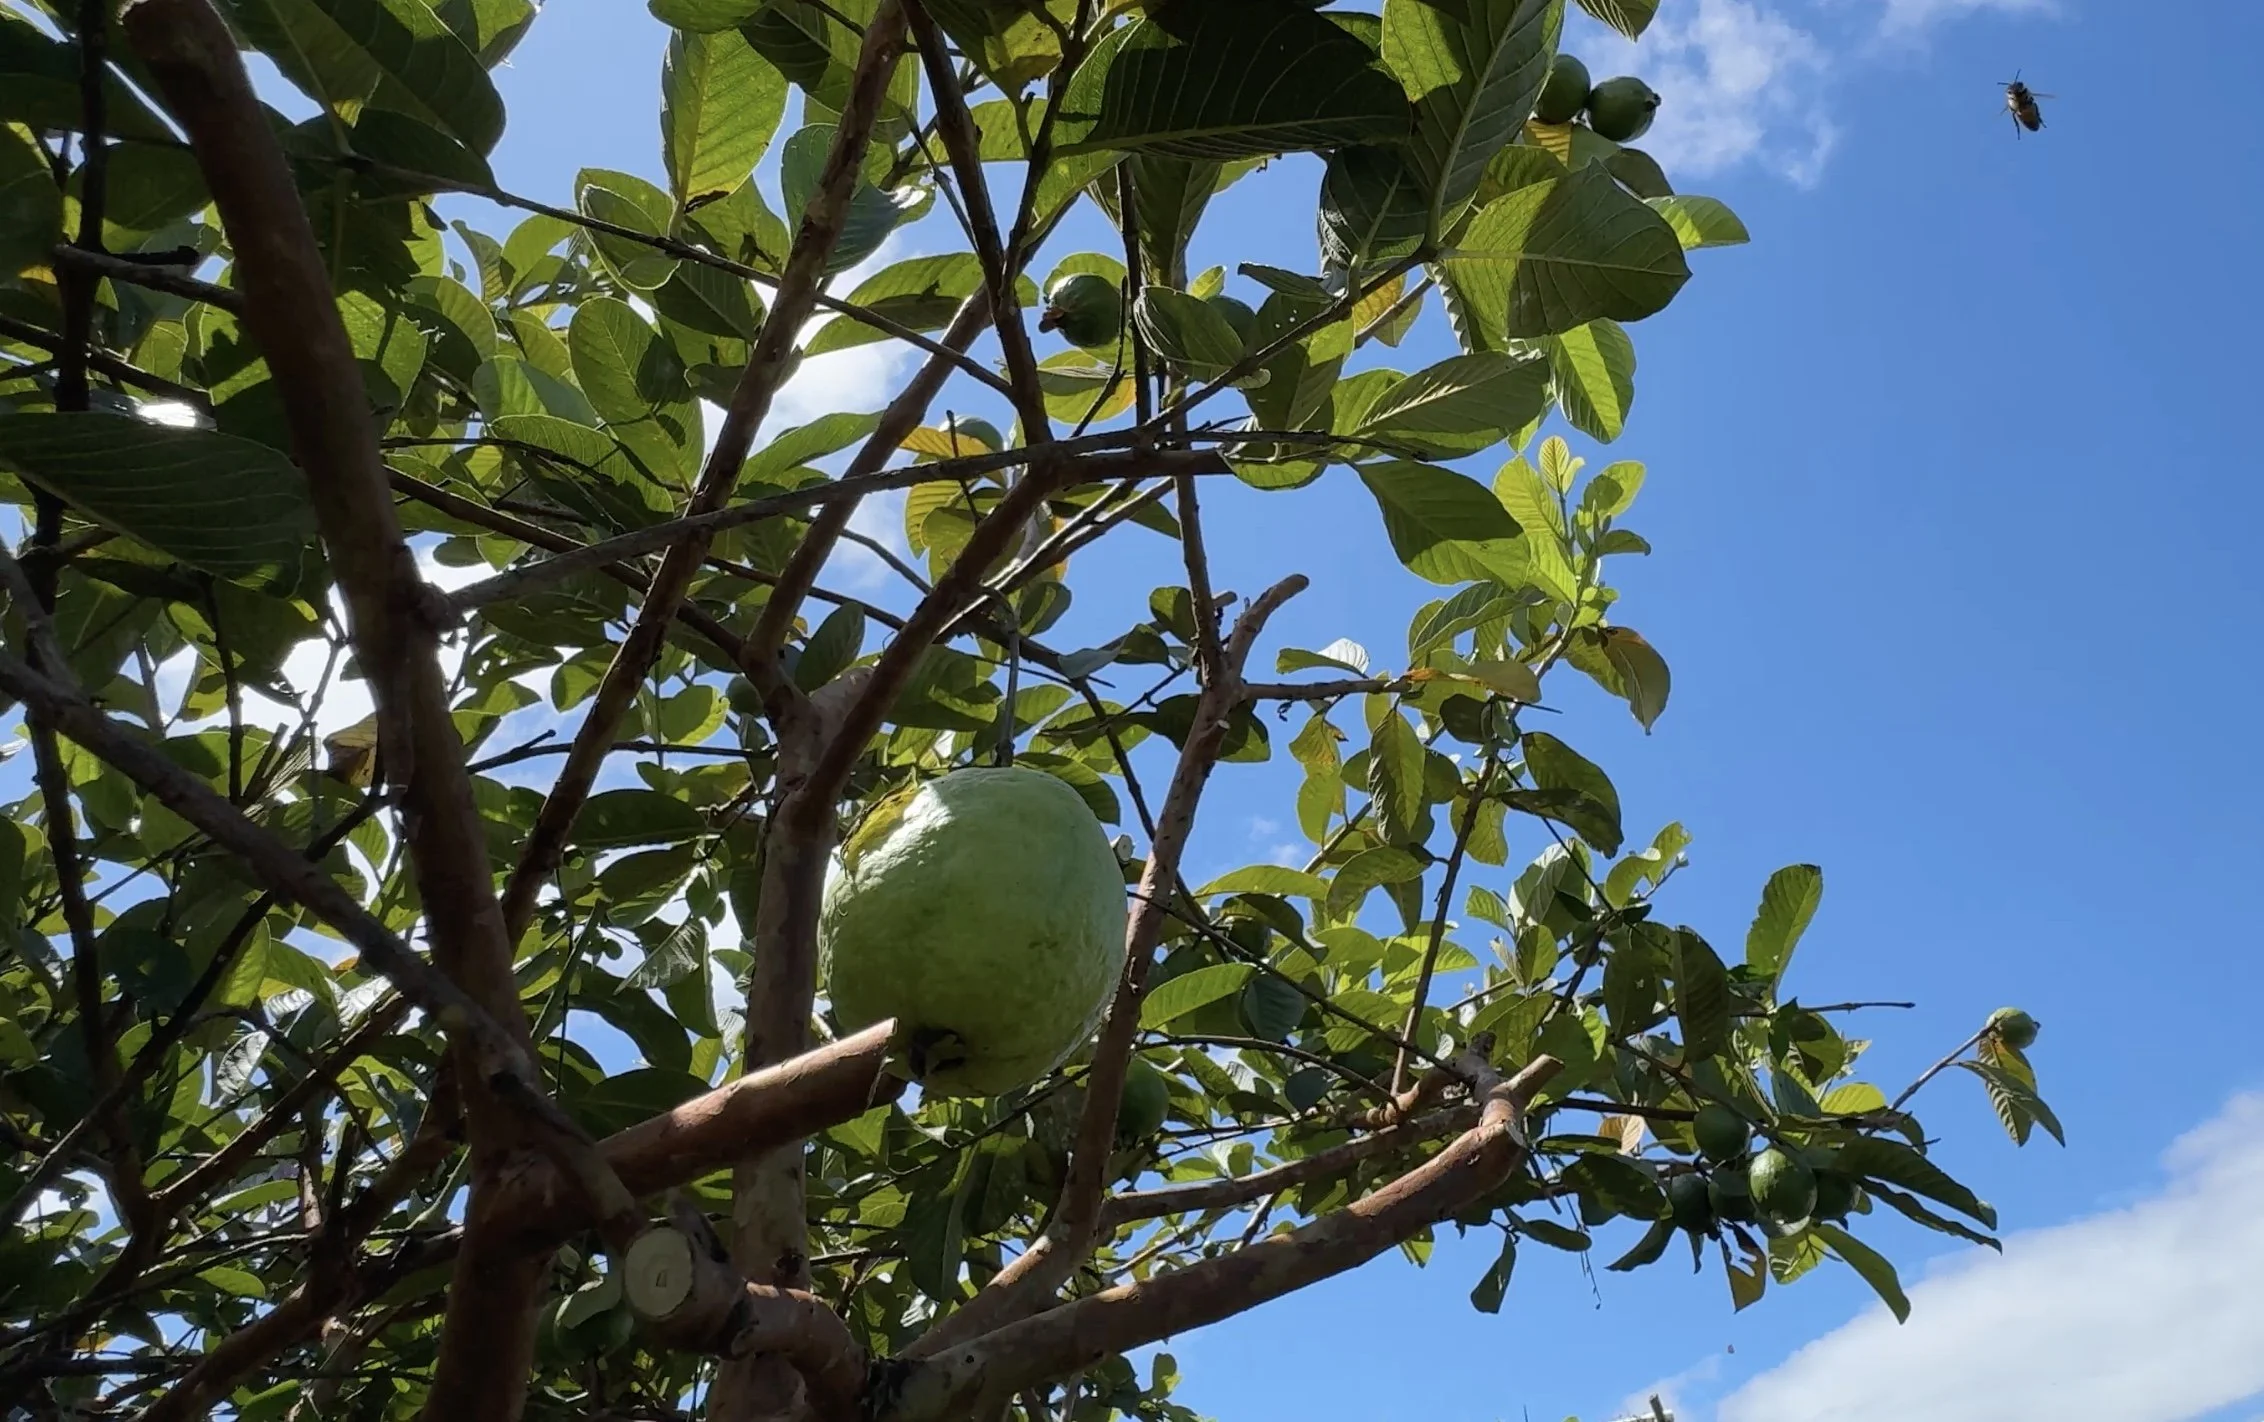
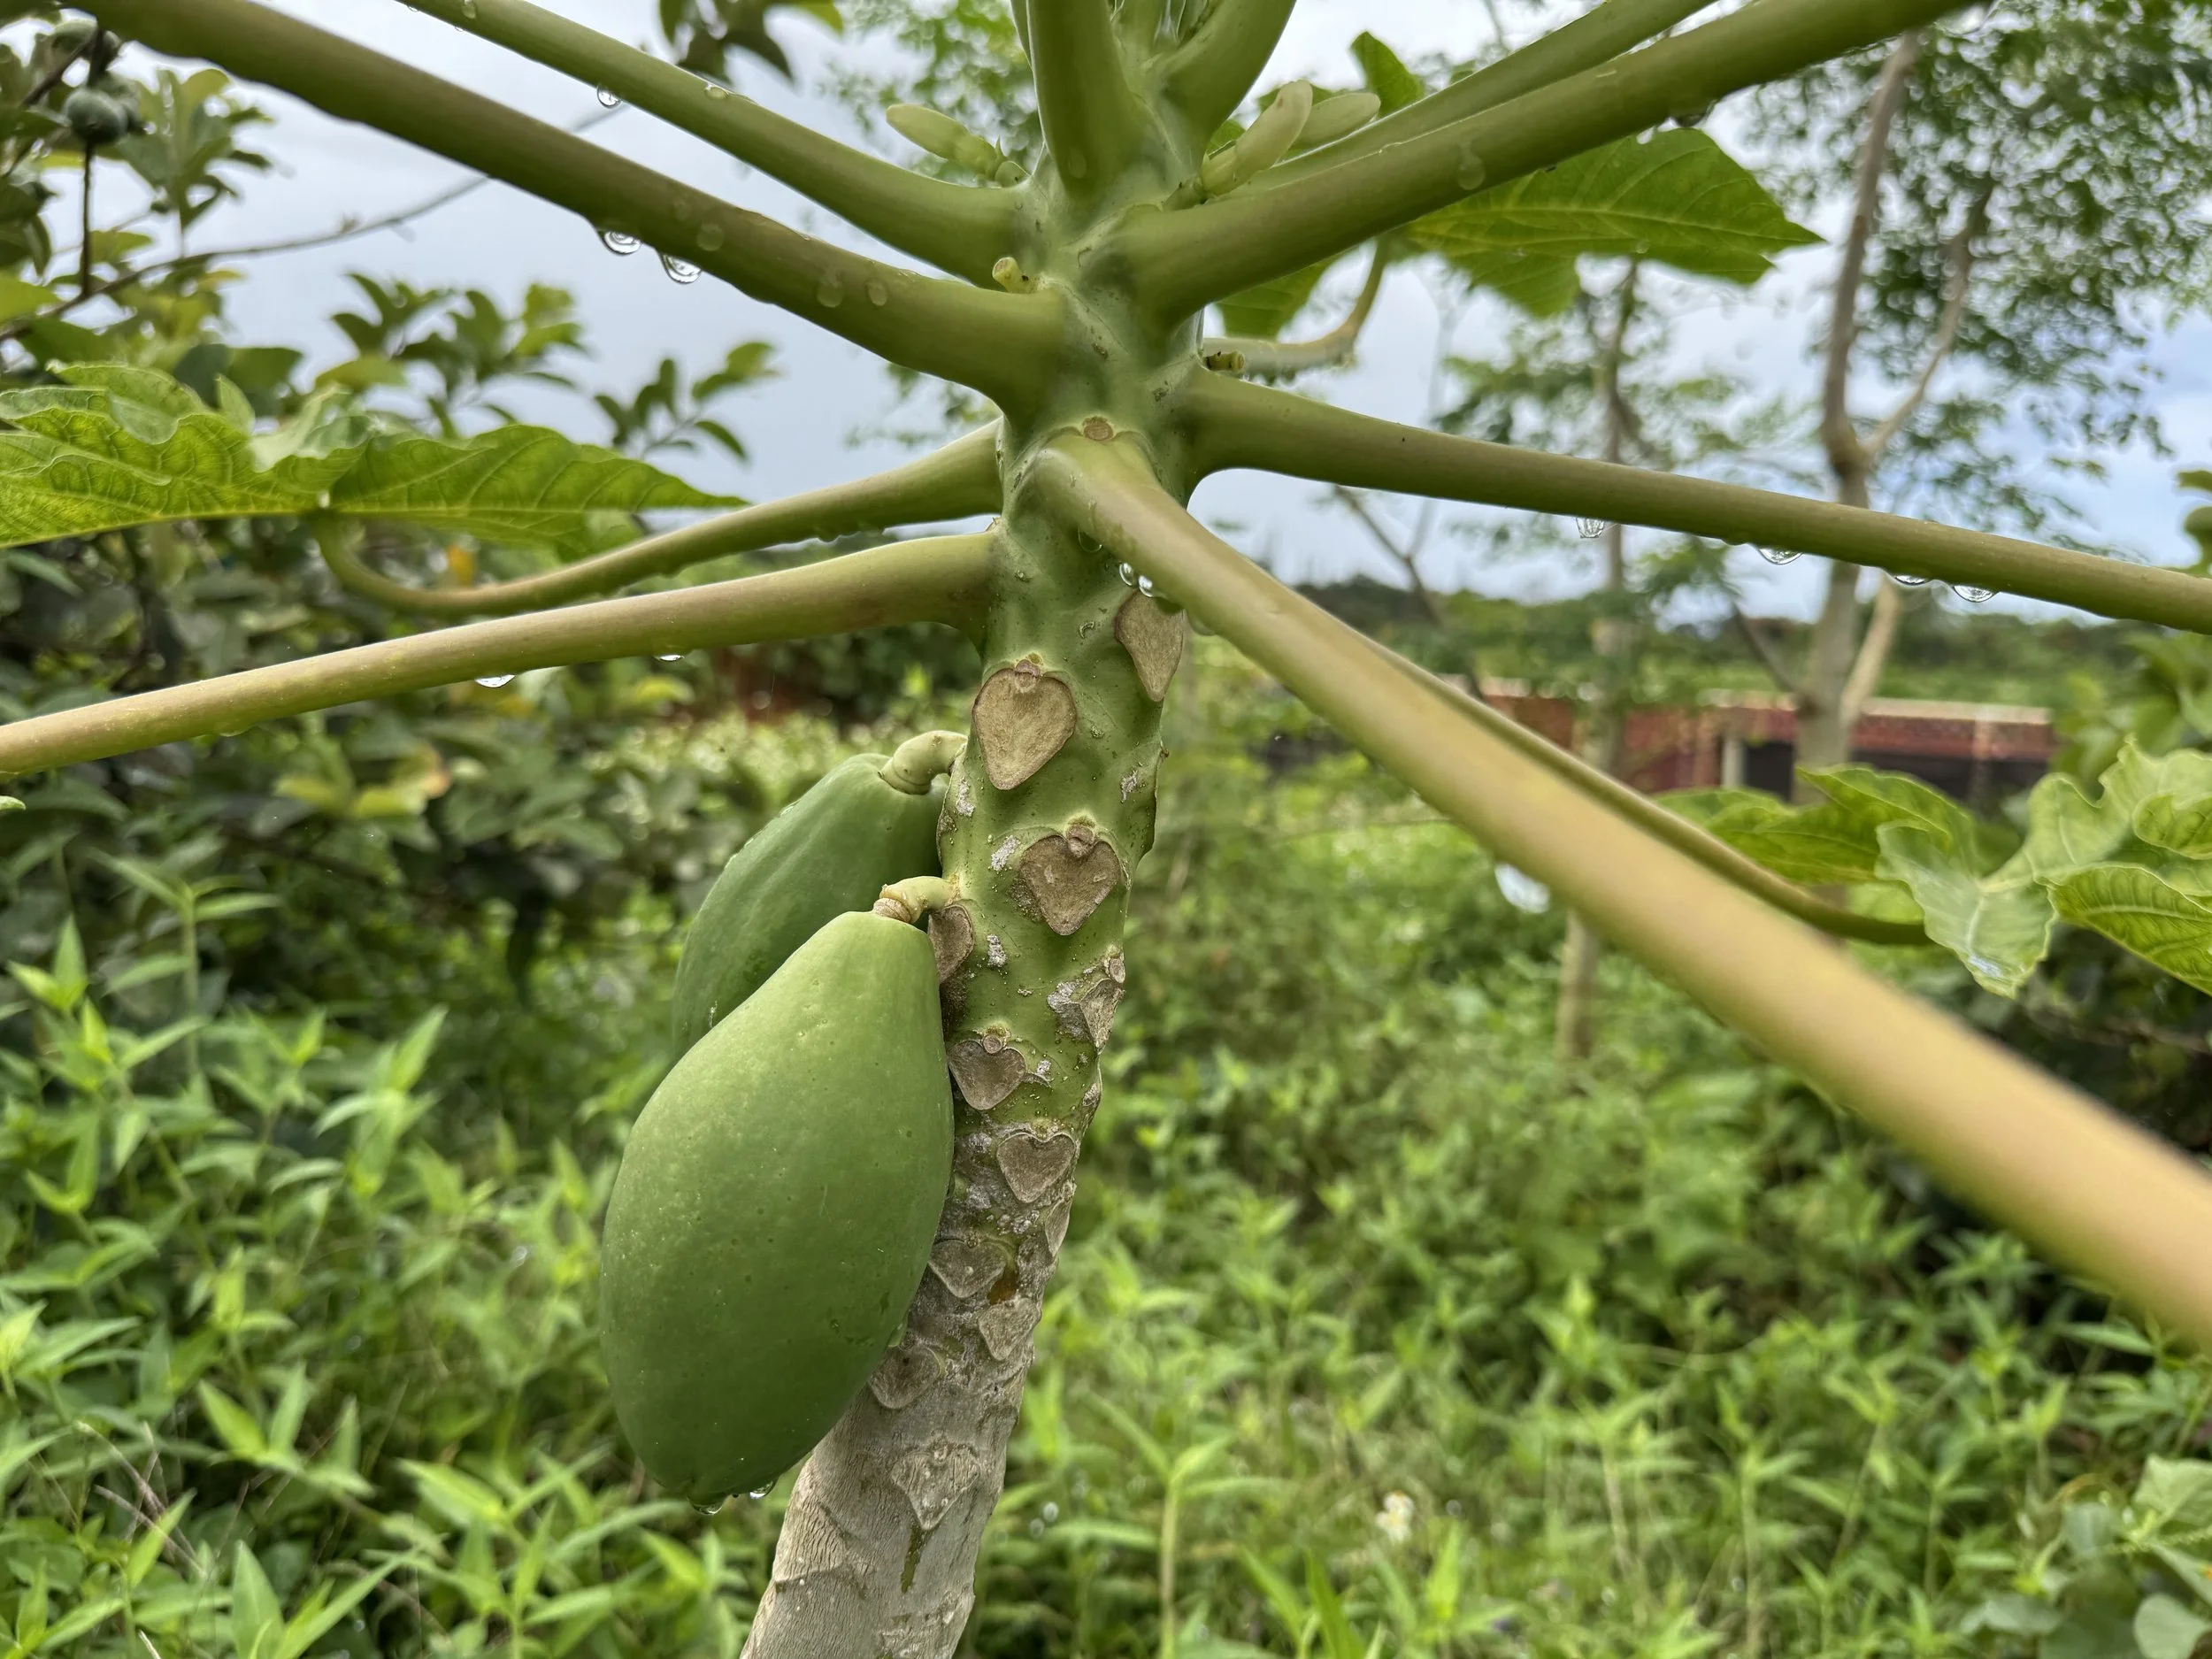
Along with all of the overgrowth, we inherited several established trees. A Thai Guava, which we had never seen nor tasted before, three Moringa/Malungay trees, and Papaya. The Thai Guava and Papaya are already fruiting and the Thai guava is huge (picture #3)! I’ve read that its supposed to be crunchy and sweet just like an oversized apple and great for salads.
On a side note, the city recently implemented a new rule that nothing in the plot can exceed 5 ft. in height with the exception of our plot fence which can be up to 6 ft. All trees or woody plants growing must come from an approved list, and any that are approved must be grown in a container with a cement base underneath to prevent roots from spreading beyond the container.
Earlier this week I emailed the city garden coordinator requesting this list, but unfortunately, none of our trees made it. So, we'll have to dig them all up ☹️. It made me sad to think about chopping them, since I had just started to prune the guava tree, envisioning it later, full of fruits ready for harvest, surrounded by our vegetables and flowers.
Clean-up, Composting of Green Waste, & Garden Boxes
Due to the ongoing Rhino Beetle problem on our island, if we didn’t plan on composting all of the green waste we have accumulated, we would’ve found ourselves having to haul everything to the nearest green waste dump. This was a surprise to us because for many years, we had passed by this community garden with multiple compost piles available for the public to take home. With four established trees plus all of the overgrowth we were looking at multiple trips to the dump! Since we’ll be building garden boxes we are going to compost all of our green waste using the Hugelkultur method.
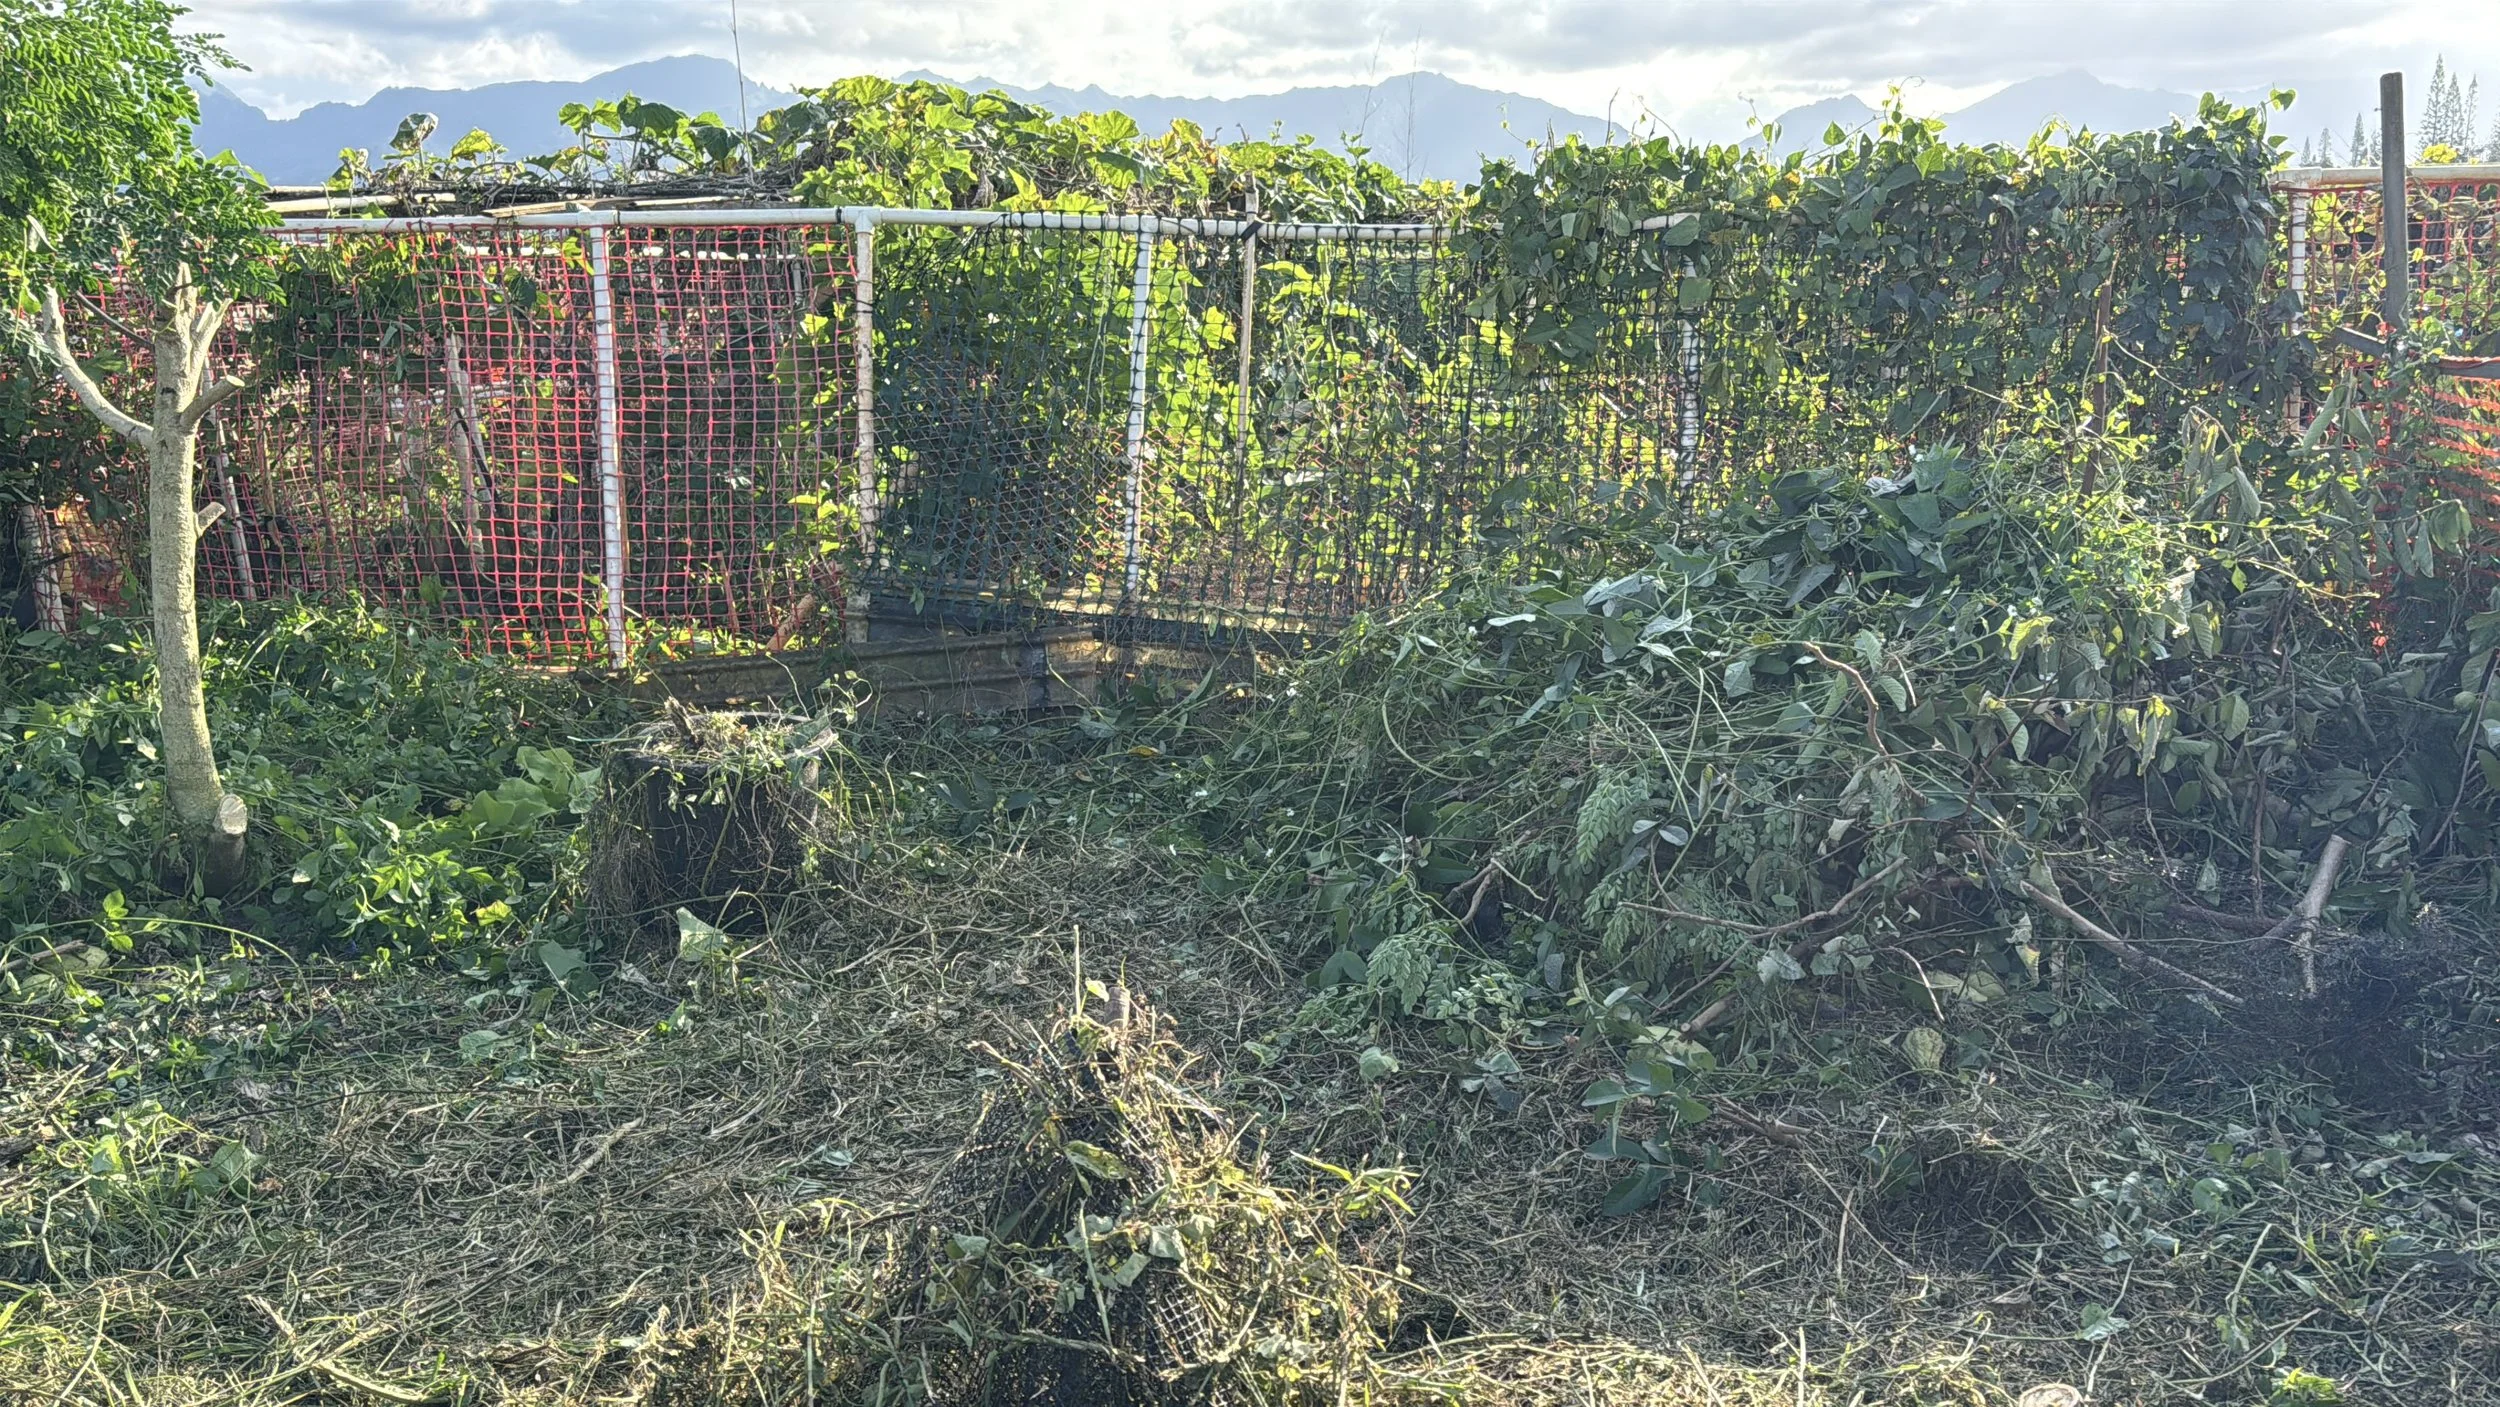
One of our green waste piles we’ll be using for compost
The Hugelkultur Method
For those who are not familiar with this composting method, it is a German technique that transforms green waste into useable compost by layering. Its like a garden lasagna in a box. To start, we’ll build our garden boxes and set them (they stay where they lay), cut up the tree branches and all of the overgrowth, weeds and all, and throw it all into the bottom of our garden boxes, placing it all directly onto the soil. We will then cover the debris with compost which we will be picking up from a local compost company down the road.
The green waste in our garden boxes will eventually break down over time, creating valuable compost! This method helps us and our pockets by using less soil material thus saving us a lot of $$. Using this method also allows our plant’s root system to have more leg room and also retains more moisture, this is especially great for areas that have compacted soil issues.
There are some types of wood and materials (ie. plastic) that should not be used so please do your research! There are many great resources available if you’d like to learn more about Hugelkultur. Feel free to reach out if you have any questions or leave a comment below if you like to use this method too!
What’s Frangible?
Because the Wahiawa Sgt. Smith Community Garden sits right next to Wheeler Army Airfield, everything in the garden has to be frangible, meaning it has to be able to break down or collapse easily so it does not interfere with airfield operations. There should be no building with metal materials, so no galvanized planter boxes, also no concrete, and no PVC piping wider than 2".
What you can use: plastic and terra cotta pots, bamboo trellises and stakes, plastic fencing and lattice, fabric grow bags, wooden planter boxes and posts, and pavers.
I will be writing more on the use of many of these materials for our garden in later posts!
Moving Forward: Our Gardening Plan
We are going to be working on our garden in phases and I hope to be able to write about our process to share in the upcoming weeks. Below is a list of the phases we have planned for our garden.
Phase 1:
Fence installation (started this week)
Clearing of plot (started this week)
Planning and design (started this week)
Water irrigation
Seed starting
Phase 2:
Weed blocker installation
Garden boxes
Soil amendment
Building the compost bin
Phase 3:
Planting our seedlings
Building trellises
Phase 4: Maintenance
Weeding
Pinching off of certain plants to promote hearty growth
Pest and disease control
Staking
Phase 5:
HARVEST TIME! 🤗🌾
Useful things to bring when working in a community garden
Here is a list of some of the items that I bring to our plot. *These ARE NOT affiliate links
Water (I normally add a packet of Liquid IV on some days to help me with my hydration)
Foldable chair or bench: I use this heavy duty kneeler and bench seat from a brand called Poraise that can be used to kneel or sit on that I purchased from Amazon
Umbrella or a pop-up tent (we are able to set up a tent as long as we take it home at the end of the day)
50+ UV sunscreen (For everyday I use Nivea sun protect water gel SPF5o, but days in the garden here in Hawaii require a heavy duty one like this one from Neutrogena)
Long sleeved UV protectant shirt (I have a hoodie and mask attached to it and keeps my neck protected from those nasty mosquitoes!)
UV protectant hat
Boots (These DUNLOP Chesapeake Rubber Boots for Men & Women I have found are still comfortable even after a few hours of constantly being on my feet)
Gardening gloves (try to find gloves that will protect your forearms as well, so far this one works for me)
LOTS of mosquito repellent or one of those mosquito coils and holder. Seriously, do not skip the mosquito repellent! I did try this one from Costco called Thermacell and I still got bitten, but maybe there were too many?
Snacks
Thats about all I am able to write about for now!
Happy Gardening!
With Aloha,
Terri